In This Post
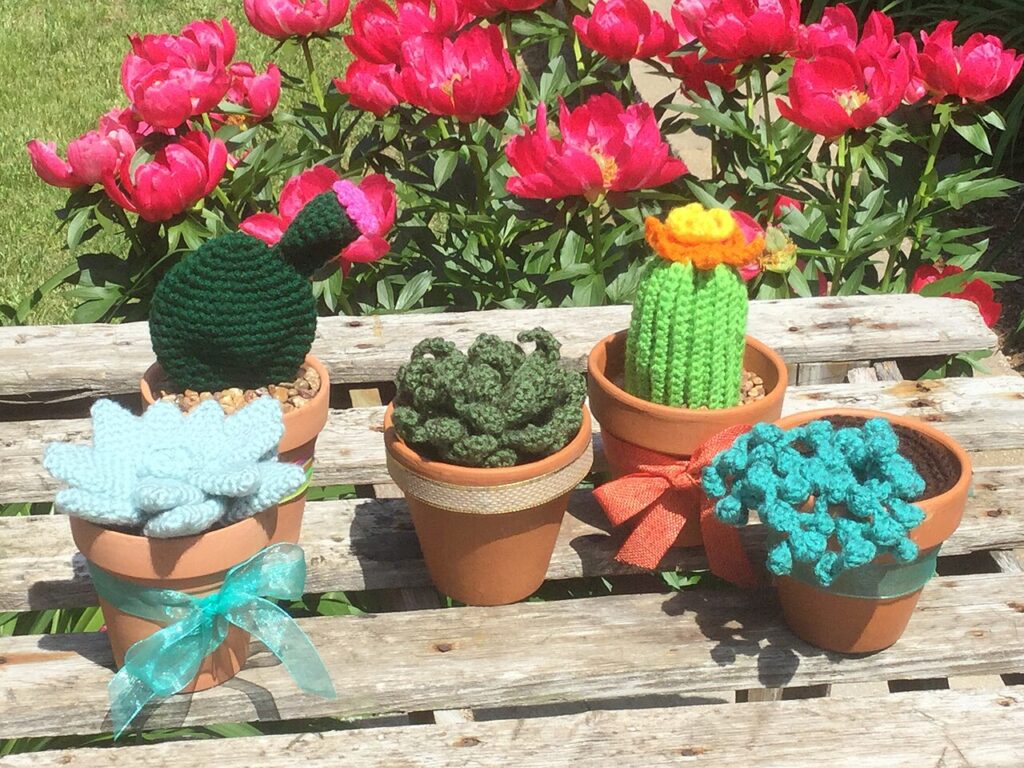
Can’t keep real houseplants alive? Same here — which is why crocheting a sunny windowsill collection of potted amigurumi cacti and succulents is pure joy! Using simple back-loop-only ribbing and quick chain curls tucked into inexpensive 2.5-inch terracotta pots from the garden center, these cheerful plants never need watering and double as clever pincushions in your craft room!
Why You’ll Love This Crochet Tutorial
- Doubles as a Craft Room Pincushion: Pop blocking pins and tapestry needles right into the stuffed cactus!
- 3 Distinct Textures in One Post: Includes the Ribbed Barrel Cactus with Blossom, Rosette Echeveria Succulent, and Trailing String-of-Pearls.
- Beginner-Friendly Construction: Ribbed cactus starts as a flat rectangle seamed into a tube!
Materials & Yarn Tips
For crisp stitch definition that is easy on your hands, pair Category 4 Worsted Cotton or Acrylic with an ergonomic 4.0 mm (US G-6) hook. If you are substituting from your stash, check our Crochet Yarn Weight Chart and Hook Size Conversion Guide so your finished gauge stays right on target.
Step-by-Step Instructions
Step 1: Crochet the Soil Base Plug
With espresso brown yarn, crochet a quick stuffed hemisphere sized to press snugly inside a 2.5″ or 3″ mini clay terracotta pot.
Step 2: Stitch Back-Loop Ribbed Cactus & Bright Flower
Crochet a back-loop-only single crochet rectangle in lime or forest green, seam the short ends into a cylinder, cinch the top closed, stuff firmly, and crown with a sunny yellow-and-coral ruffled blossom!
Drop a handful of clean Aquarium gravel or smooth river pebbles into the bottom of your clay pot before pressing the crochet soil plug in so your cactus stays weighted and upright!
Save Free Patterns to Your Inbox!
Want weekly free crochet patterns, granny square palettes, and printable stitch cheat sheets from Emma?
Finishing & Blocking Advice
Once your final stitch is fastened off, thread your yarn tail onto a blunt tapestry needle and weave it securely back and forth in three directions through the back of matching stitches. Pinning your finished piece to measurements on a foam mat with a light mist of water (or gentle hover-steam for acrylic) relaxes every loop so corners sit crisp and professional!
Frequently Asked Questions
Can I crochet the terracotta pot too instead of using clay?
Definitely! Work a flat circle in terracotta cotton yarn, do 1 round in BLO for the base ridge, then crochet straight up with 1 top fold-down rim.
Crochet Potted Cactus & Succulent Pattern (3 Easy Desk Plants!)
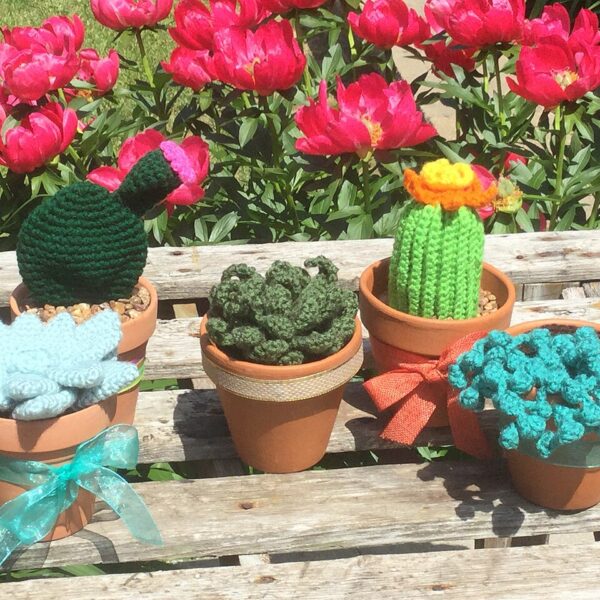
Crochet adorable zero-watering ribbed cacti and rosette succulents nestled inside mini terracotta pots — perfect for sunny desks!
Materials
Tools
- 4.0 mm (US G-6) crochet hook
- Tapestry needle & scissors
Abbreviations (US Terms)
Instructions
- Soil Plug (Brown): Work standard amigurumi circle from 6 sc in MR up to 36 sts (Rnds 1–6), then work 4 even rounds of 36 sc. Stuff firmly.
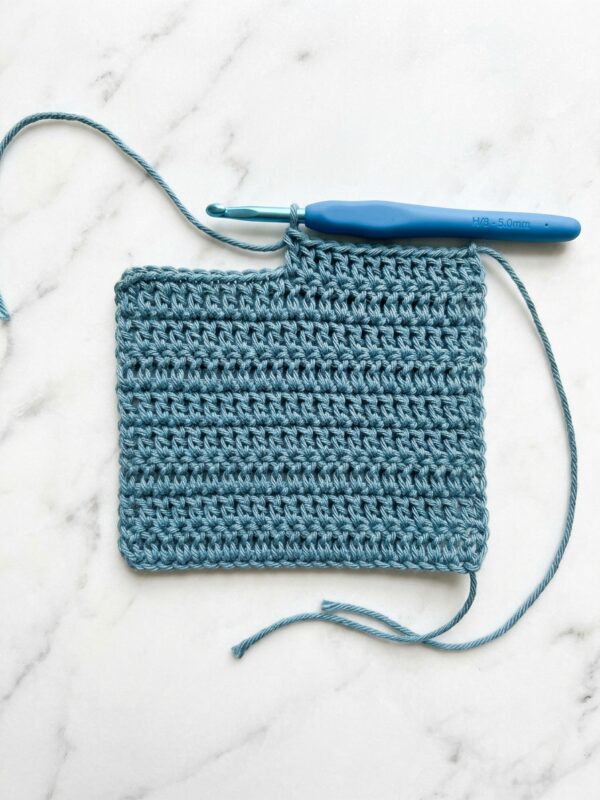
- Ribbed Cactus Body (Green): Ch 21. Row 1: Hdc in 2nd ch from hook and across (20 hdc). Ch 1, turn. Rows 2–24: Hdc in BLO across (20). Fold and sl st Row 24 to foundation edge; weave needle through top row edges, pull tight to gather dome, stuff firmly, and sew centered onto Soil Plug.
- Top Blossom: In MR with Yellow, work 8 sc; join Coral and work *(sc, 3 dc, sc) in next st* around for 8 petals. Sew to top of cactus!
Want Free Crochet Patterns?
Enter your email below to receive new beginner-friendly crochet patterns, stitch guides & printable cheat sheets each week!
We respect your privacy. Unsubscribe anytime with one click.Notes
- For the Trailing Succulent variation, crochet 10 chains of 18–24 sts with *(sl st, ch 2)* picot pearls and tack their ends together in the pot!
Using my barrel cactus as a sewing pincushion right next to my machine! Putting pebbles in the bottom of the clay pot kept it super steady.
Aren't cactus pincushions the cutest desk upgrade, Samira?! Love that!