In This Post
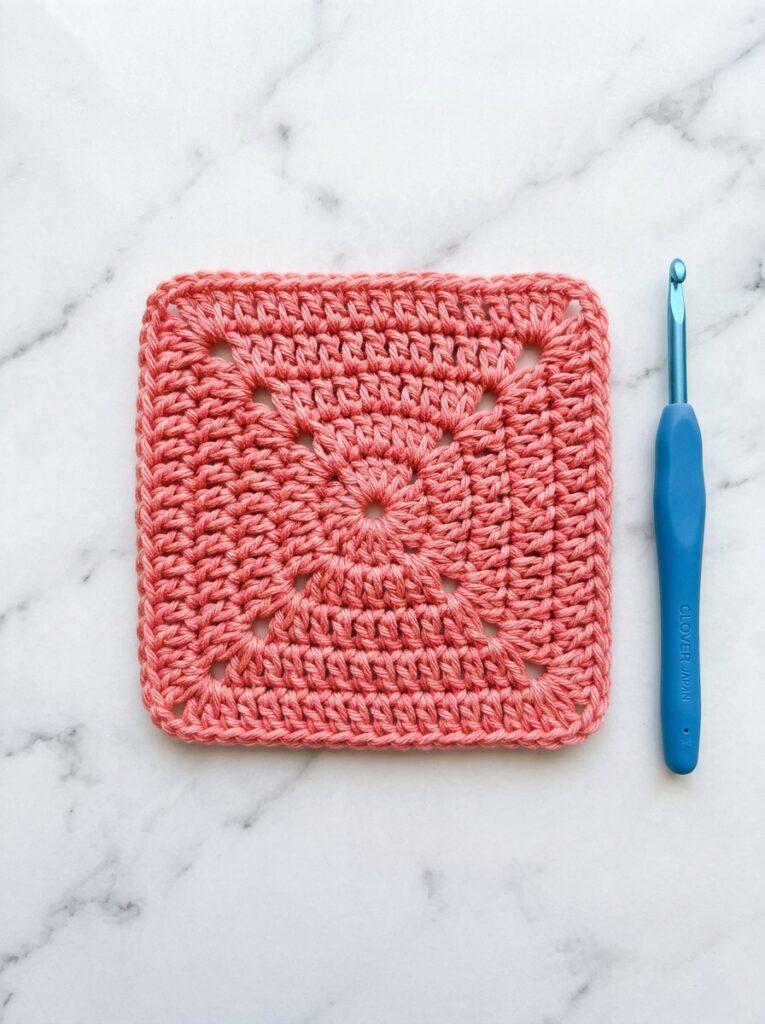
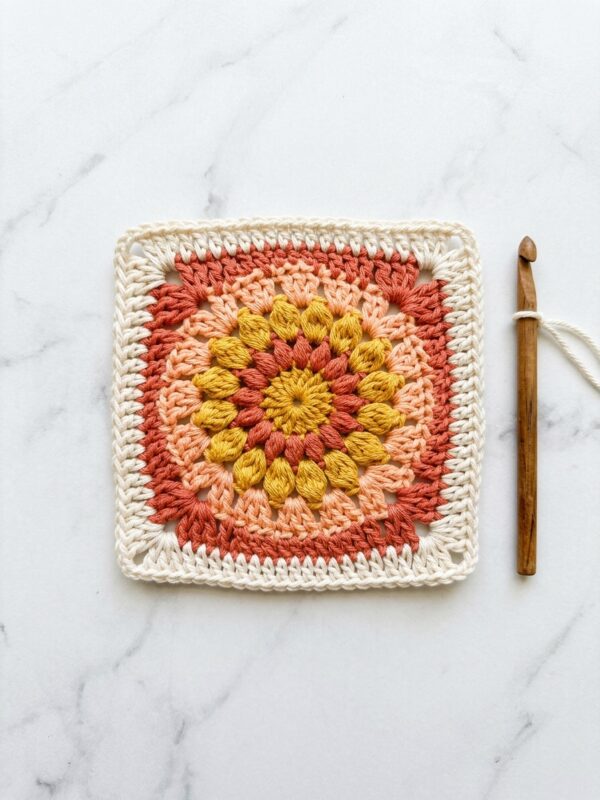
If you love the timeless charm of traditional granny squares but prefer a warmer, denser fabric without large eyelet holes, this solid granny square crochet pattern is about to become your go-to motif! Worked from the center out in standard US double crochet stitches, each round builds crisp corners and smooth sides that join effortlessly into baby blankets, tote bags, pillow covers, and cozy cardigans.
Why You’ll Love This Crochet Tutorial
- Zero Large Gaps: Unlike classic 3-dc cluster squares, working stitch-by-stitch creates a warm, opaque fabric ideal for baby blankets and potholders.
- Lies Perfectly Flat: Balanced corner increases (2 dc, ch 2, 2 dc) prevent ruffling or cupping.
- Stash-Buster Friendly: Make all five rounds in one solid shade like blush coral, or switch yarn colors every round for bold geometric stripes!
Materials & Yarn Tips
For crisp stitch definition that is easy on your hands, pair Category 4 Worsted Weight Cotton or Acrylic with an ergonomic 5.0 mm (US H-8) hook. If you are substituting from your stash, check our Crochet Yarn Weight Chart and Hook Size Conversion Guide so your finished gauge stays right on target.
Step-by-Step Instructions
Step 1: Start with a Magic Ring & Round 1
Begin with a magic adjustable ring (or ch 4 and sl st to form a ring). Ch 3 (counts as your first dc here and throughout), work 2 dc into the ring, ch 2 for your first corner, then repeat *3 dc, ch 2* three more times. Pull the yarn tail snug and join with a slip stitch to the top of your beginning ch-3. You now have 12 stitches and four crisp ch-2 corner spaces!
Step 2: Build Solid Sides in Round 2
Ch 3, then work 1 dc in each stitch across until you reach the ch-2 corner space. Inside every ch-2 corner space, work (2 dc, ch 2, 2 dc). Continue around all four sides and join cleanly with an invisible slip stitch.
Step 3: Repeat to Any Size You Like
Every additional round follows the exact same relaxing rhythm: work 1 dc into every stitch along each side, and place (2 dc, ch 2, 2 dc) into each corner space. Each round adds 4 stitches per side (16 stitches total per round).
Don’t miss the hidden first stitch right after a corner! Gently pull your two corner stitches to the right with your thumb so the top loops of the next side stitch stay clearly visible.
Save Free Patterns to Your Inbox!
Want weekly free crochet patterns, granny square palettes, and printable stitch cheat sheets from Emma?
Finishing & Blocking Advice
Once your final stitch is fastened off, thread your yarn tail onto a blunt tapestry needle and weave it securely back and forth in three directions through the back of matching stitches. Pinning your finished piece to measurements on a foam mat with a light mist of water (or gentle hover-steam for acrylic) relaxes every loop so corners sit crisp and professional!
Frequently Asked Questions
How do I stop my solid granny square from twisting?
Slightly twisting seams happen naturally when working in the round without turning. Simply flip your work at the end of each round or wet-block your finished square on a pinned mat!
Can I make a giant solid granny square blanket?
Absolutely! Keep repeating Round 3 continuously in self-striping or color-blocked yarn until your square reaches baby blanket (36 inches) or throw size (50 inches).
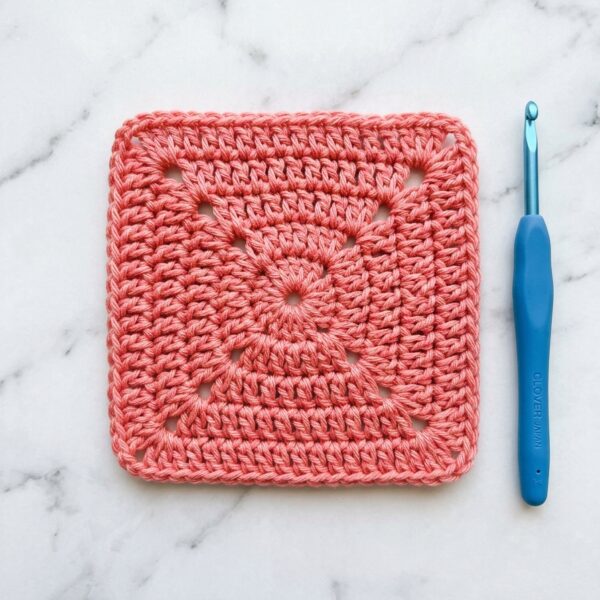
Solid Granny Square Crochet Pattern (Easy & No Gaps!)
Learn how to crochet a crisp, flat solid granny square with neat corners and minimal gaps using basic double crochet stitches.
Materials
Tools
- 5.0 mm (US H-8) ergonomic crochet hook
- Tapestry yarn needle
- Sharp embroidery scissors
- Foam blocking mat & rust-proof T-pins
Abbreviations (US Terms)
Instructions
- Round 1: Make a MR. Ch 3 (counts as 1st dc), work 2 dc into ring, ch 2. *Work 3 dc into ring, ch 2; repeat from * 2 more times. Pull ring closed and sl st to top of beg ch-3. (12 dc, four ch-2 corner sps)
- Round 2: Ch 3 (counts as dc), dc in next 2 sts. *(2 dc, ch 2, 2 dc) in ch-2 corner sp, dc in next 3 sts; repeat from * 2 more times. Work (2 dc, ch 2, 2 dc) in last corner sp, sl st to top of beg ch-3. (28 dc)
- Round 3: Ch 3, dc in each st to first corner. *(2 dc, ch 2, 2 dc) in ch-2 corner sp, dc in each st across side; repeat from * around, ending with dc in remaining sts before beg ch-3. Join with sl st. (44 dc)
- Rounds 4–5: Repeat Round 3, working 1 dc in each st along sides and (2 dc, ch 2, 2 dc) in each corner sp. Round 4 = 60 dc; Round 5 = 76 dc. Fasten off and weave in tails.
Want Free Crochet Patterns?
Enter your email below to receive new beginner-friendly crochet patterns, stitch guides & printable cheat sheets each week!
We respect your privacy. Unsubscribe anytime with one click.Notes
- For an ultra-seamless join with no diagonal seam line, turn your square at the end of each round or use a standing double crochet.
- Steam-block or wet-block finished squares to identical dimensions before seaming your blanket.
I have tried three other solid granny square tutorials and mine always rippled at the corners. Using (2 dc, ch 2, 2 dc) like you explained made mine lay completely flat on the first try! Making 36 of these for a nursery blanket.
Yay Hannah, that makes me so happy to hear! Checking that hidden stitch right after the ch-2 corner makes such a huge difference. Have fun with your nursery blanket!
Can I use 100% cotton yarn with this pattern to make hot pads for my kitchen?
Yes! Dishcloth cotton (like Lily Sugar'n Cream or Paintbox Cotton Aran) works wonderfully for hot pads—just avoid acrylic yarn near hot pans since acrylic can melt.